
See how the app works
Your agent stays on your computer. These are the screens you use to read its work and decide what happens next.
Actual Android emulator and iPhone simulator captures, using fictional projects on an isolated demo host. No interface elements have been redrawn. Tap a screenshot to open the larger image.
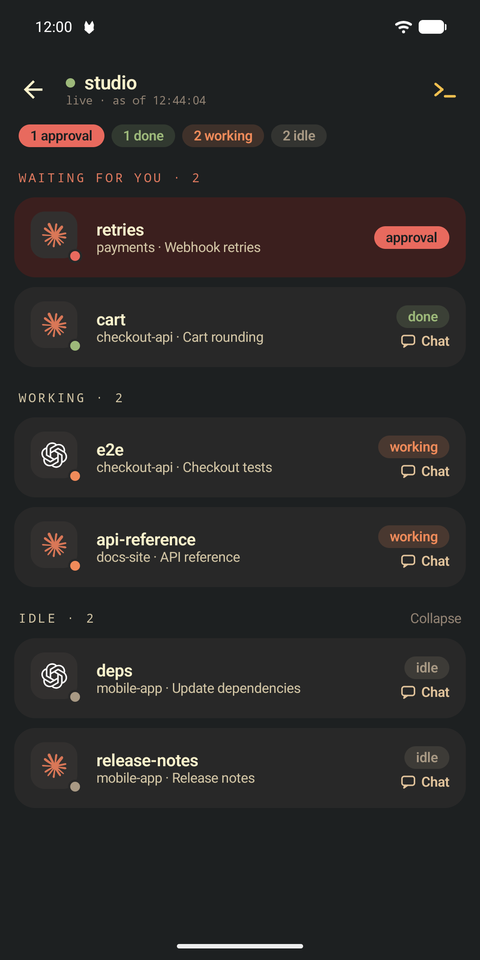
Pick a conversation, then switch projects
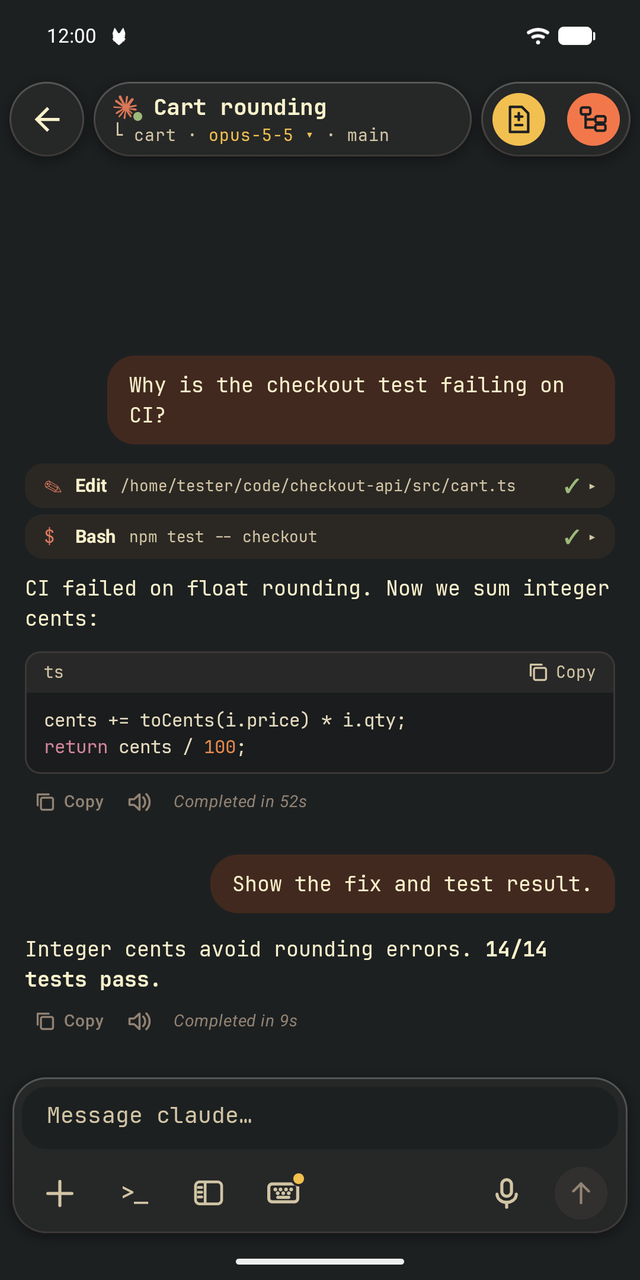
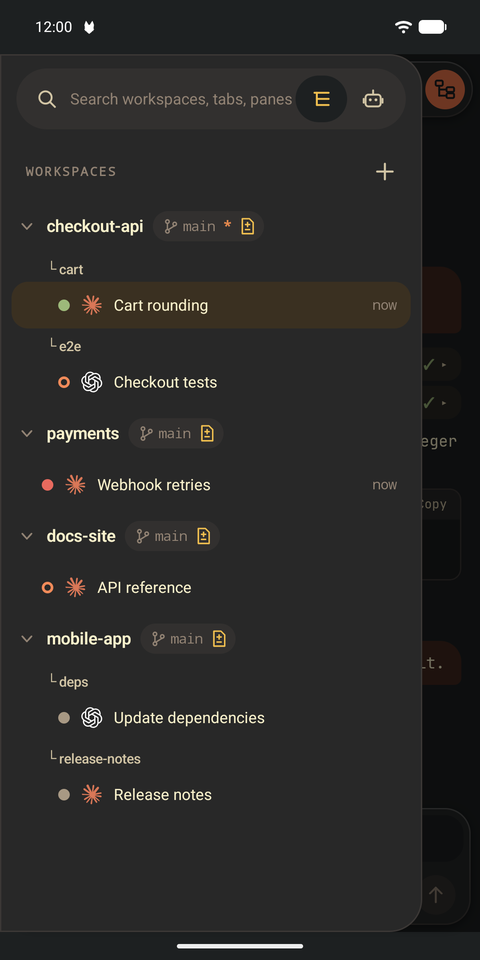
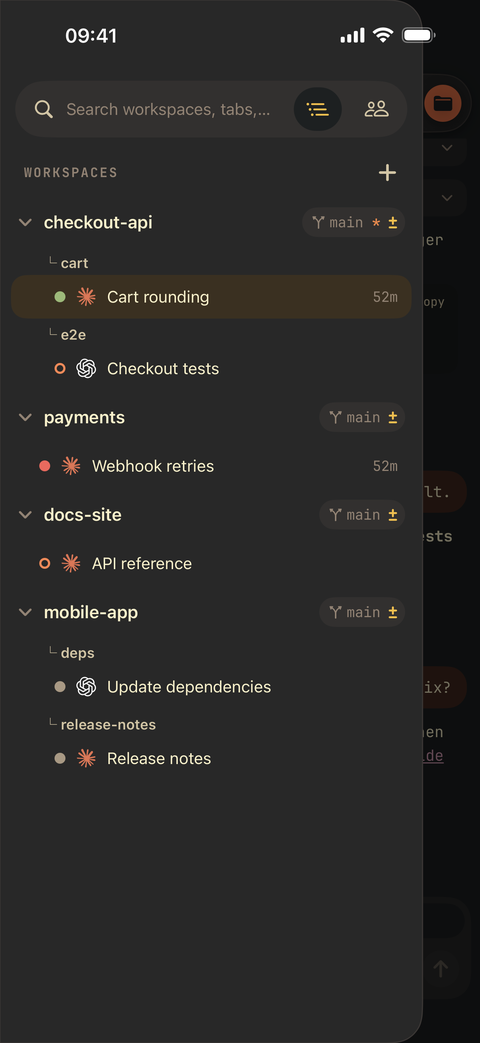
Tap an agent in the fleet to read its replies. The drawer groups work by workspace, tab and session; switching here does not move the view on your computer.
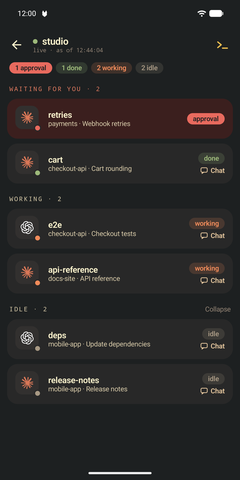
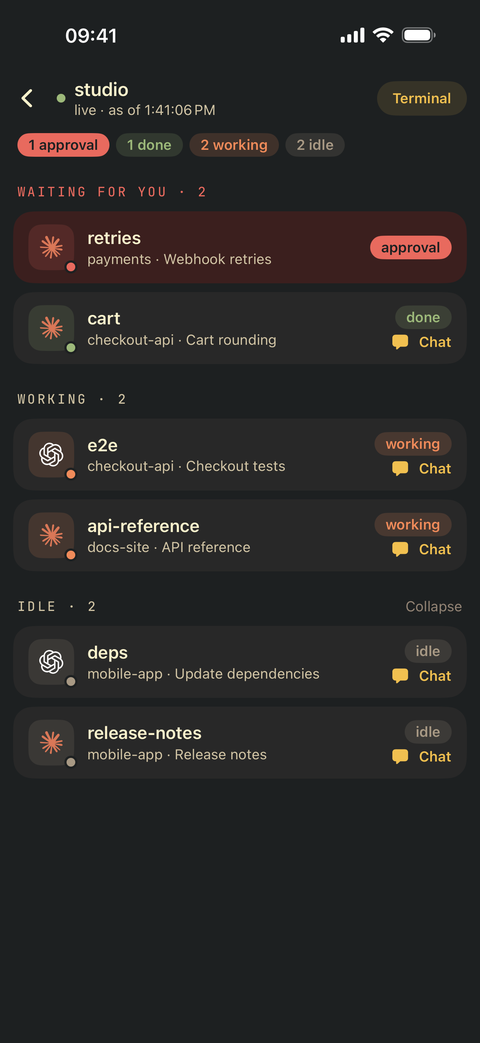
1. Find the agent that needs you. 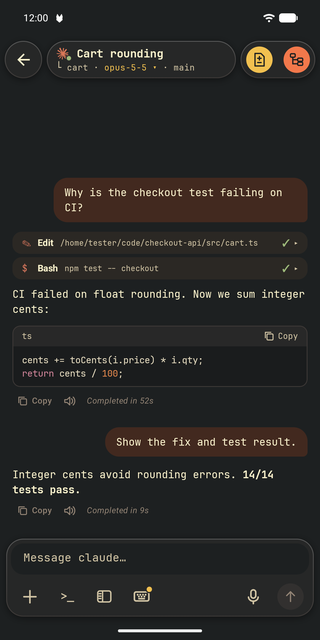
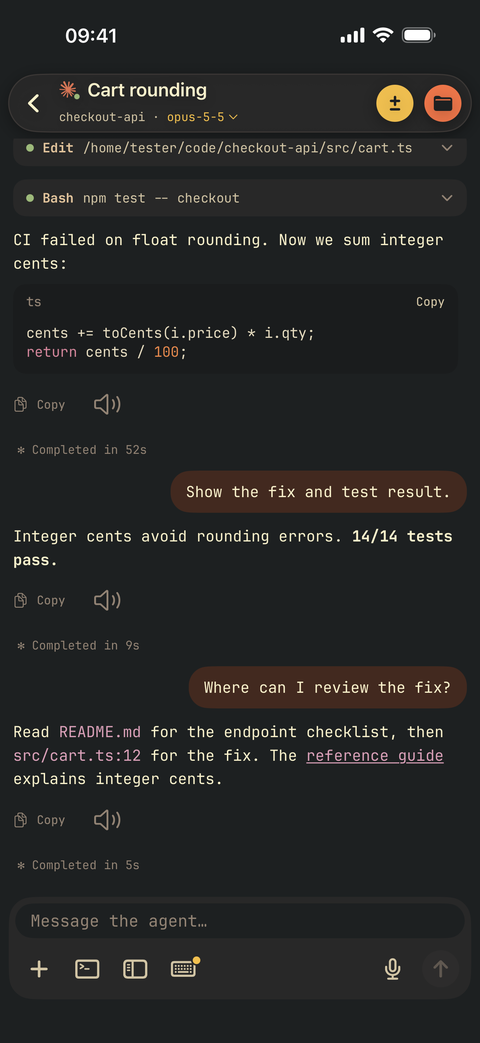
2. Read the answer, code and tool results. 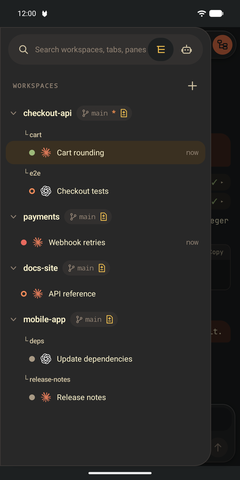
3. Open the drawer to choose another session.
Follow a file path from the chat
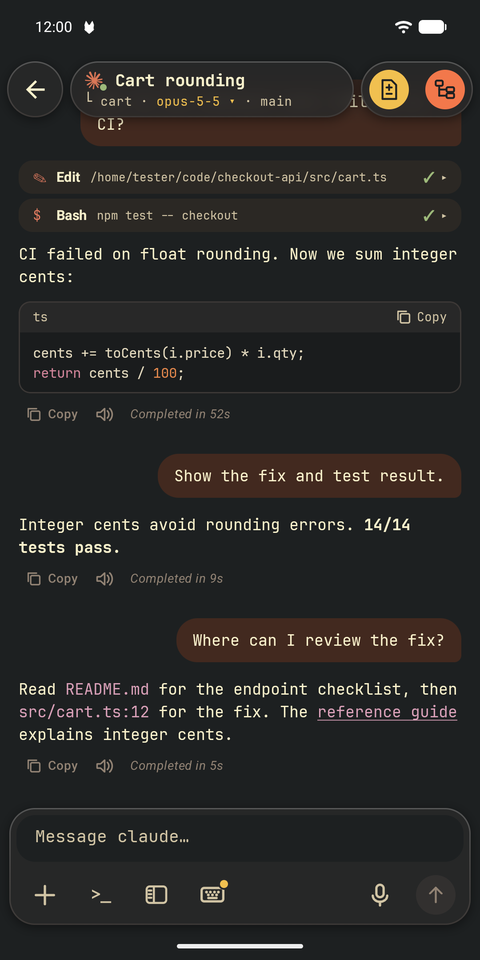
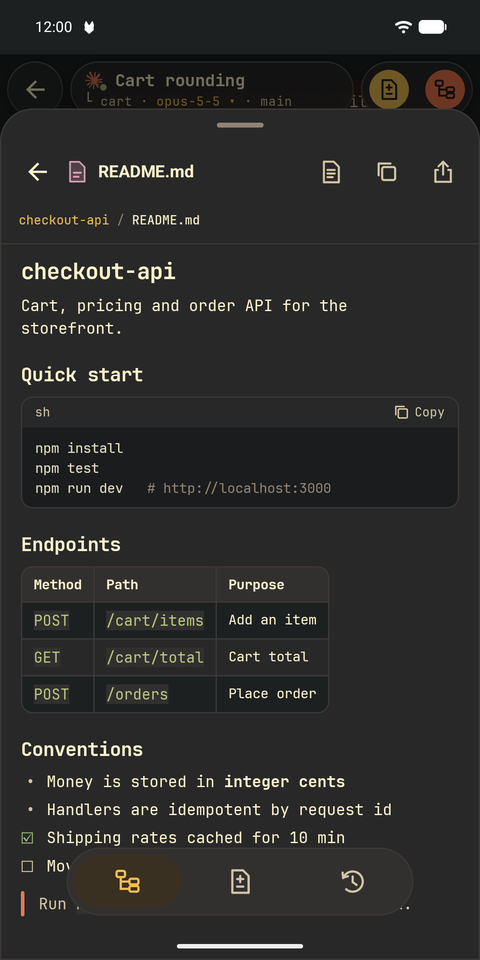
File paths in an agent's answer are active: tap one to open that file on the connected computer. Web links are active too and open in your browser. The reader keeps the conversation behind it.
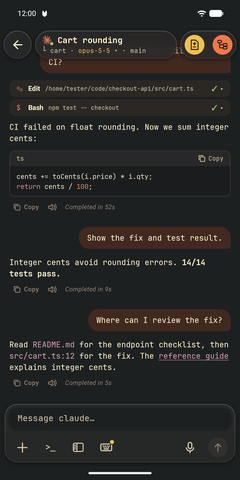
1. Tap README.md in the answer. 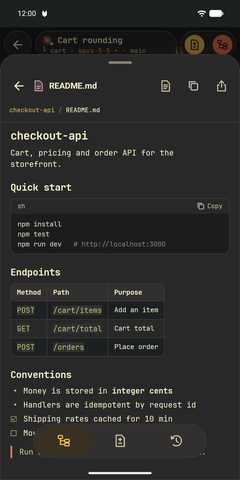
2. Read the file without copying its path into a terminal.
A reader for the files on your computer
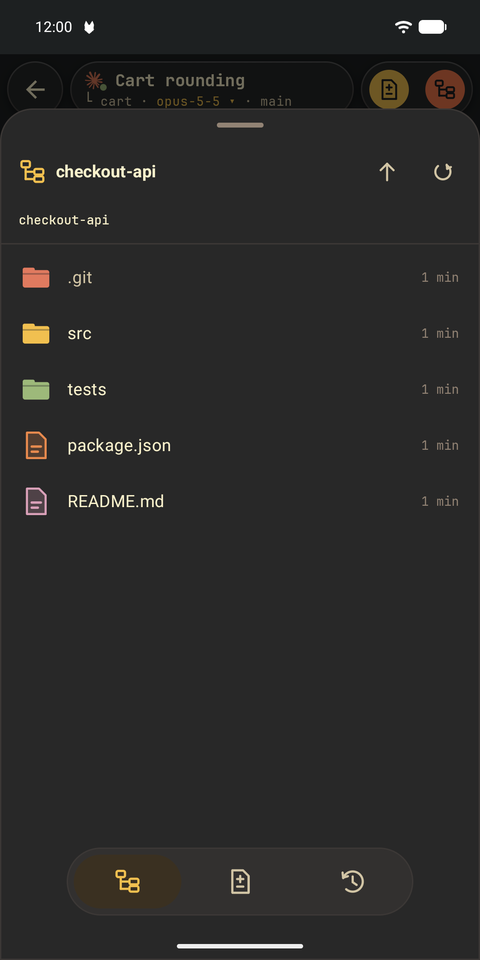
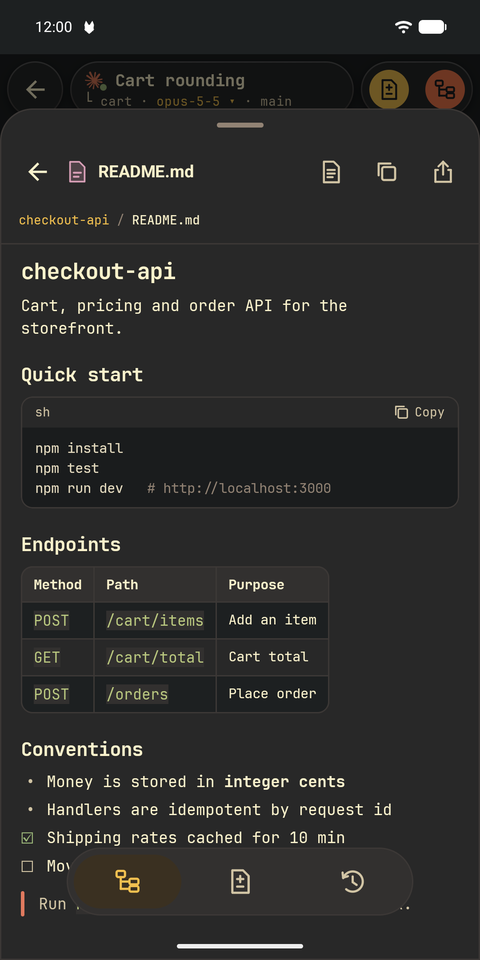
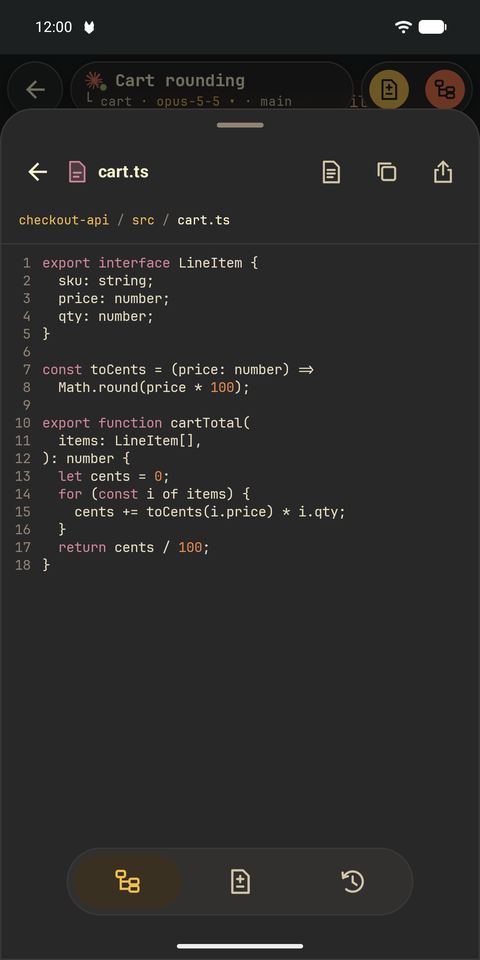
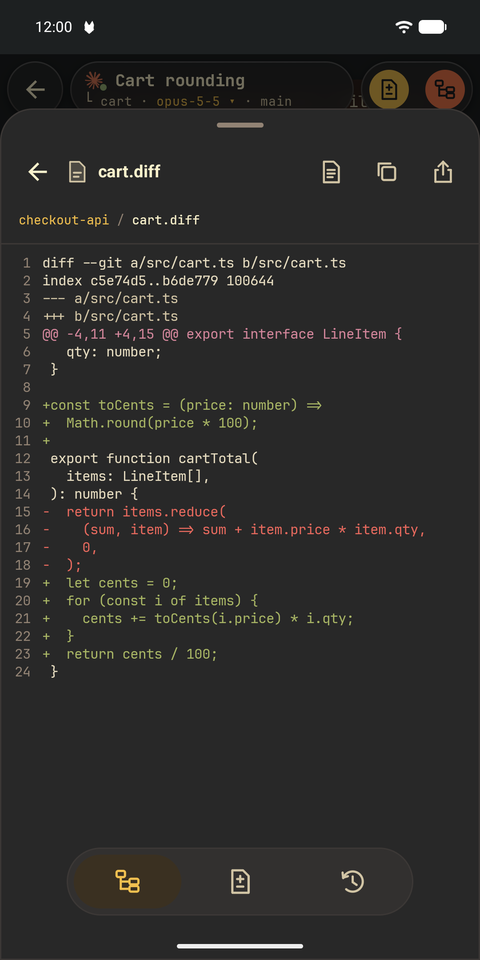
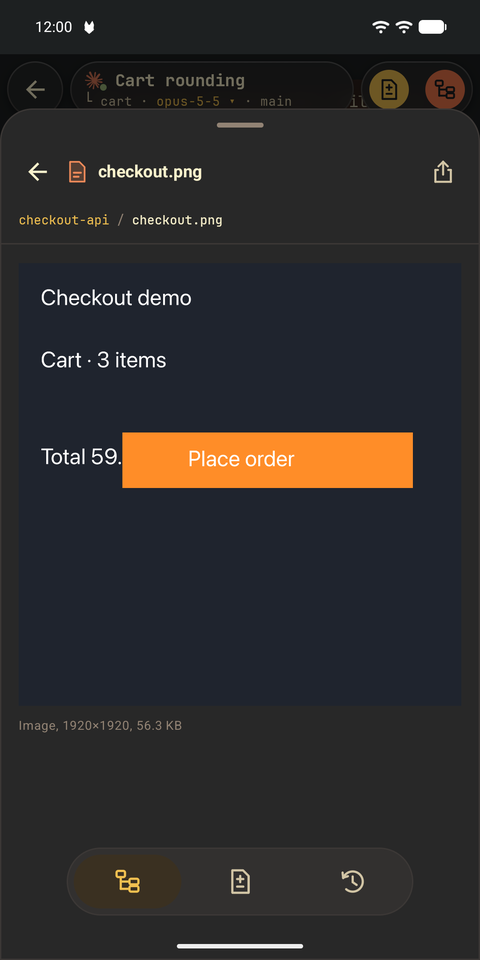
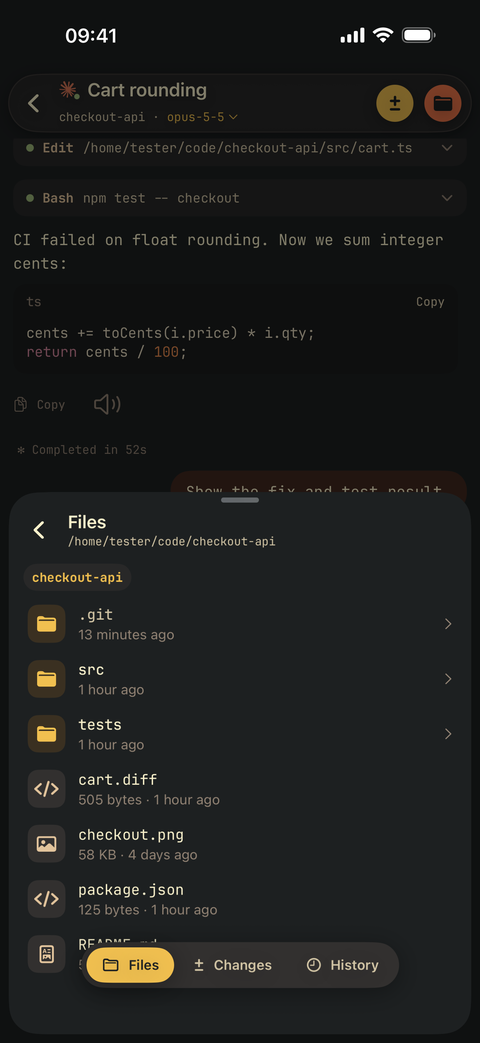
Browse the current project and open Markdown, highlighted code, diff files or images. The panel is read-only: reading a file does not edit it or switch your checkout.
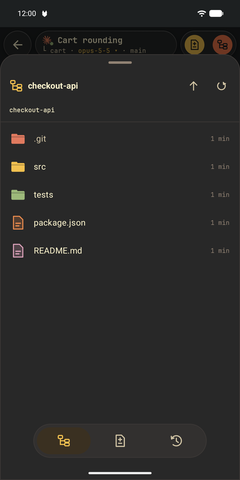
Browse the project from the files button. 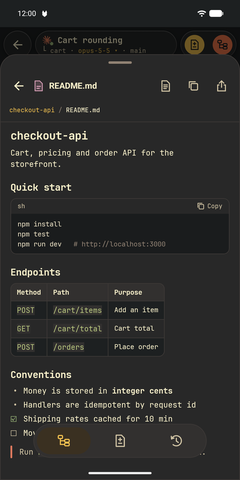
Markdown keeps headings, code blocks, tables and checklists. 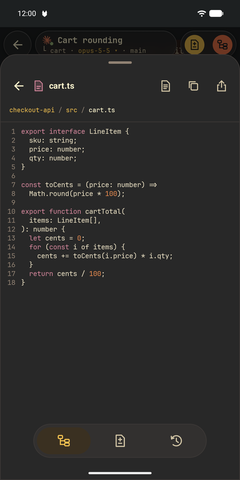
Code has syntax highlighting and line numbers. 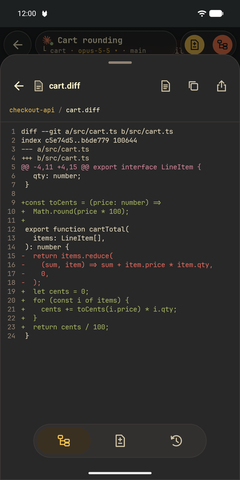
A saved diff shows additions and removals. 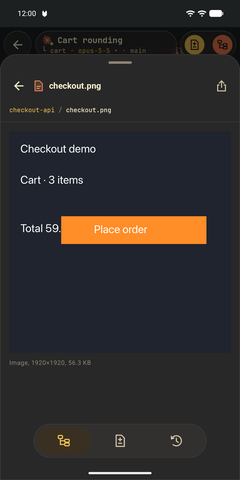
Inspect an image from the host.
Choose a model for a supported session
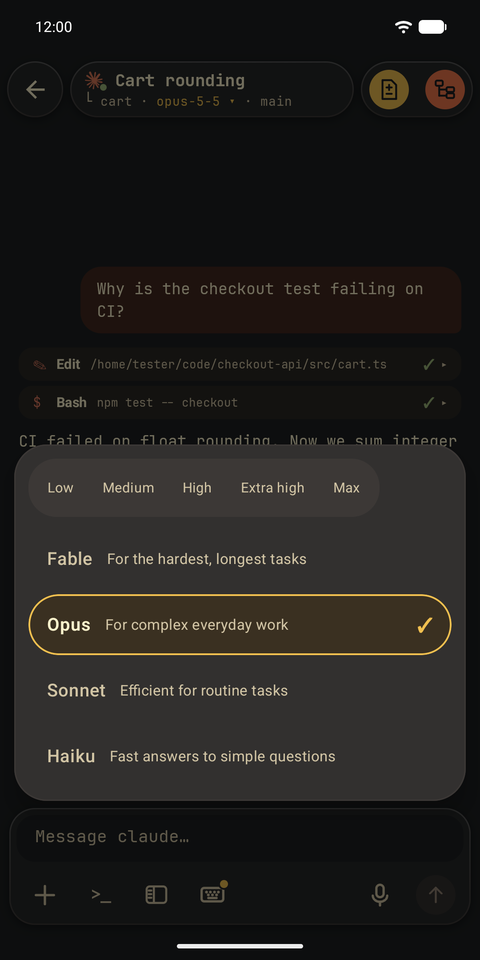
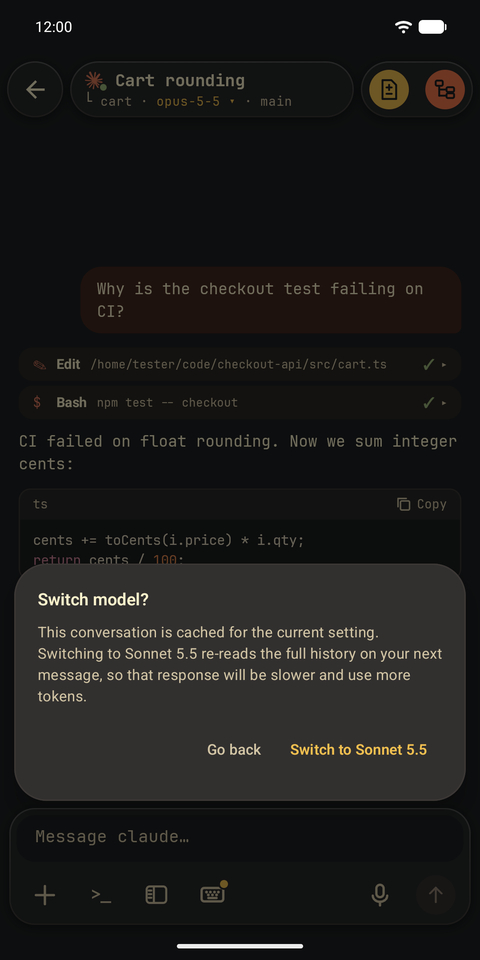
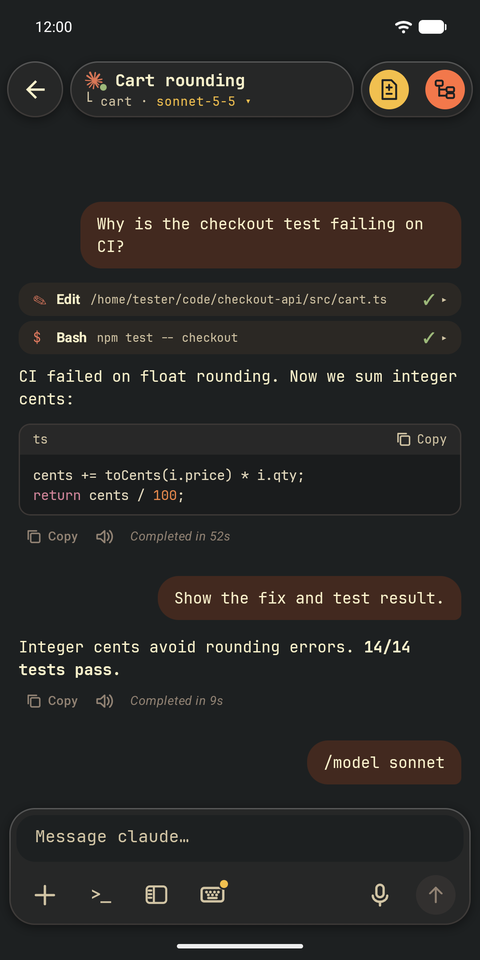
Tap the model in the chat header. The choices come from that agent, not a shared list for every harness. This example switches a Claude Code demo session from Opus to Sonnet.
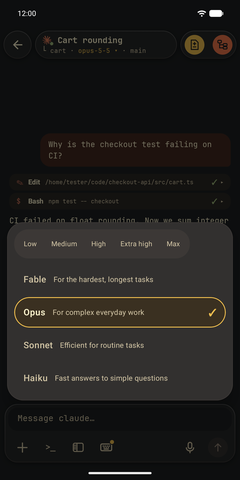
1. Open the model choices. 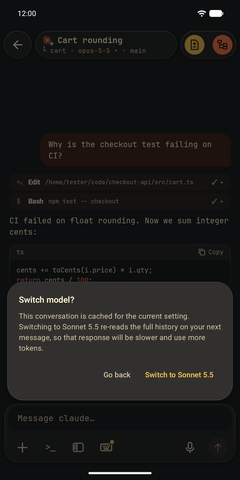
2. Read the confirmation before switching. 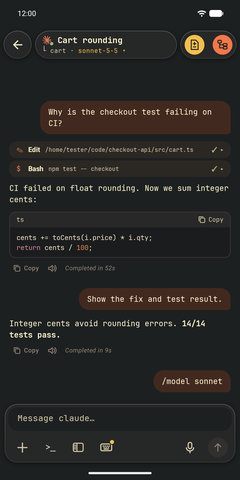
3. The header shows the confirmed model.
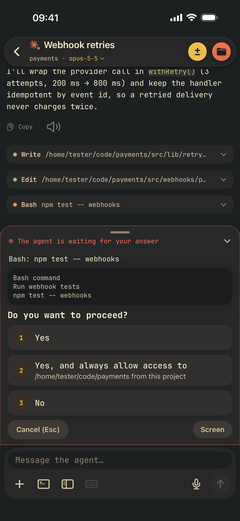
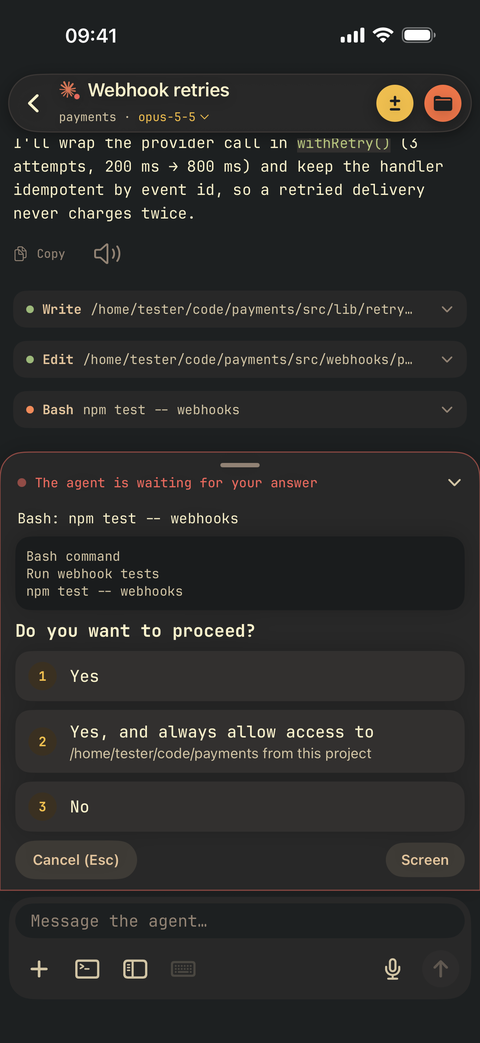
Read the request before you approve
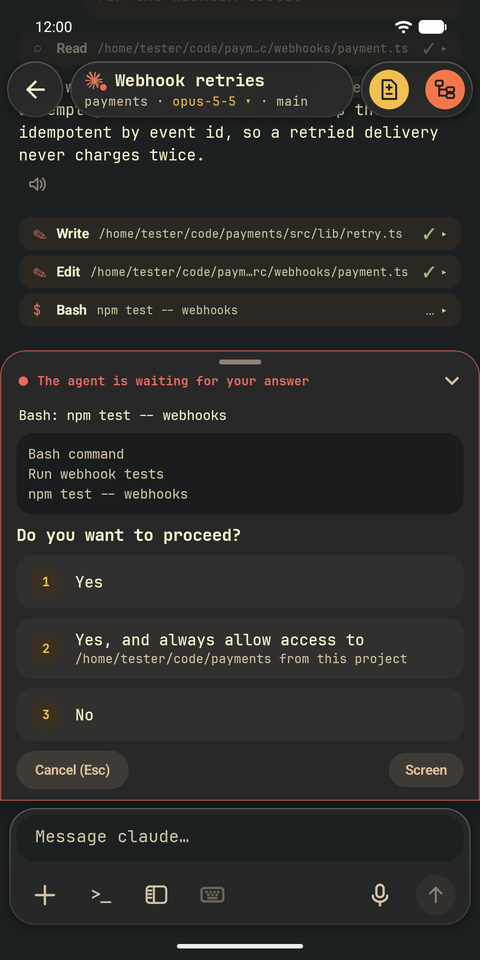
Expand the approval panel to see the command and the agent's choices. The app checks that the same question is still on screen before sending your answer.
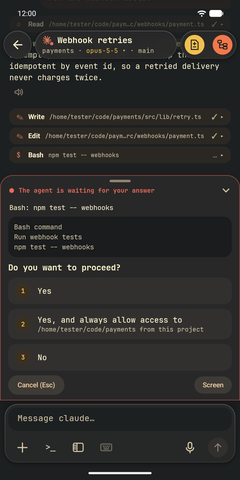
The expanded request shows exactly what you are answering.
Review the diff and recent history
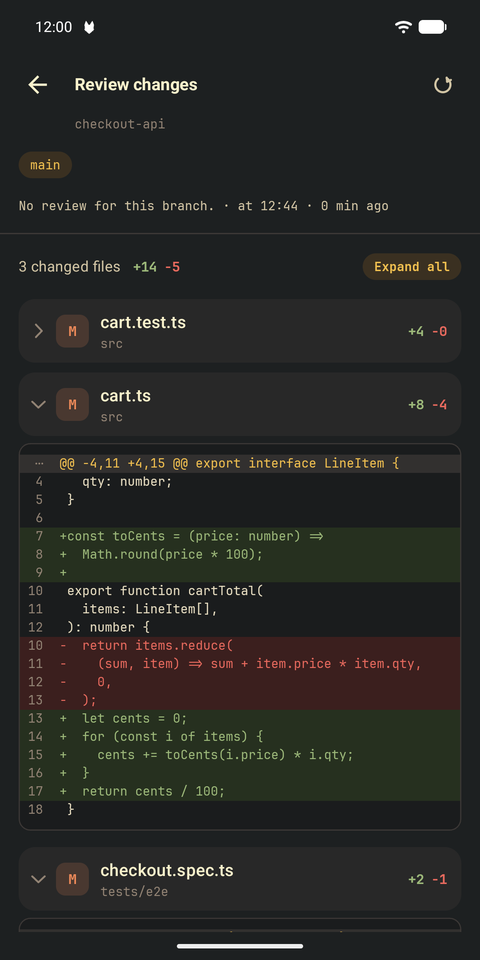
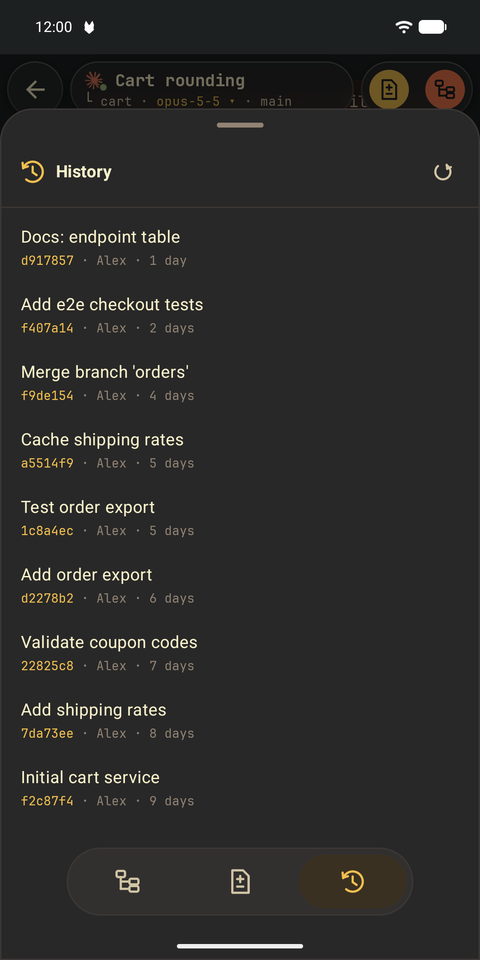
Open the changes button to inspect the working tree. Expand the file you need, then use the history tab to read recent commit summaries.
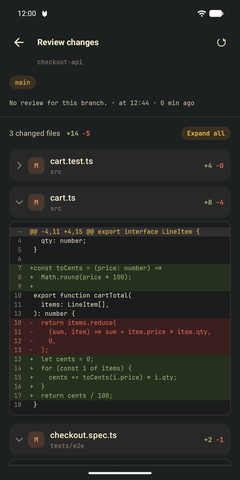
1. Read the changed lines, file by file. 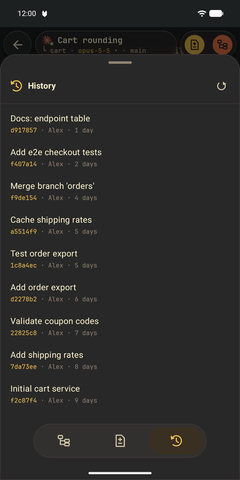
2. Check recent commits without changing branches.
Use the terminal and its extra keys
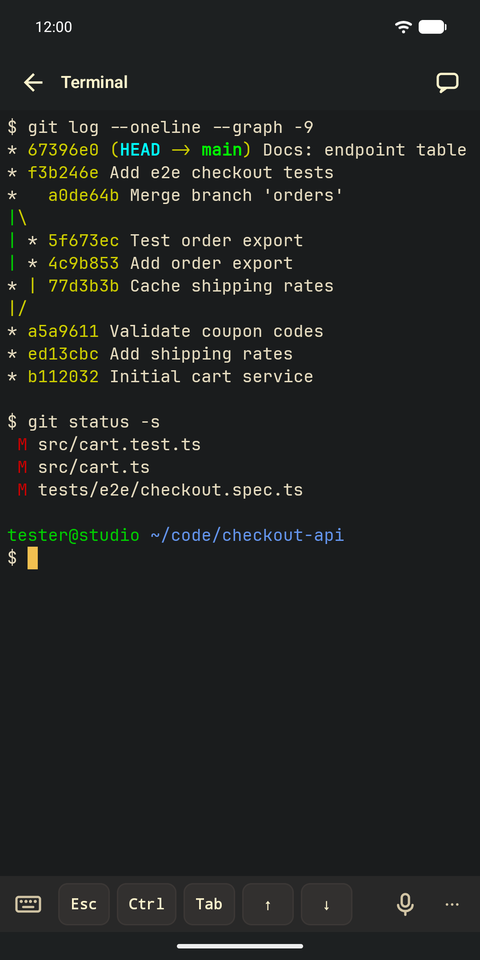
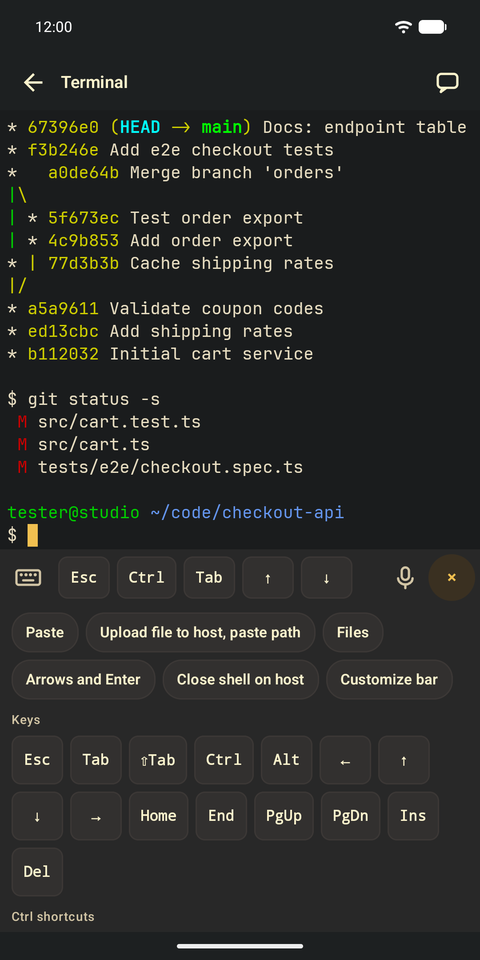
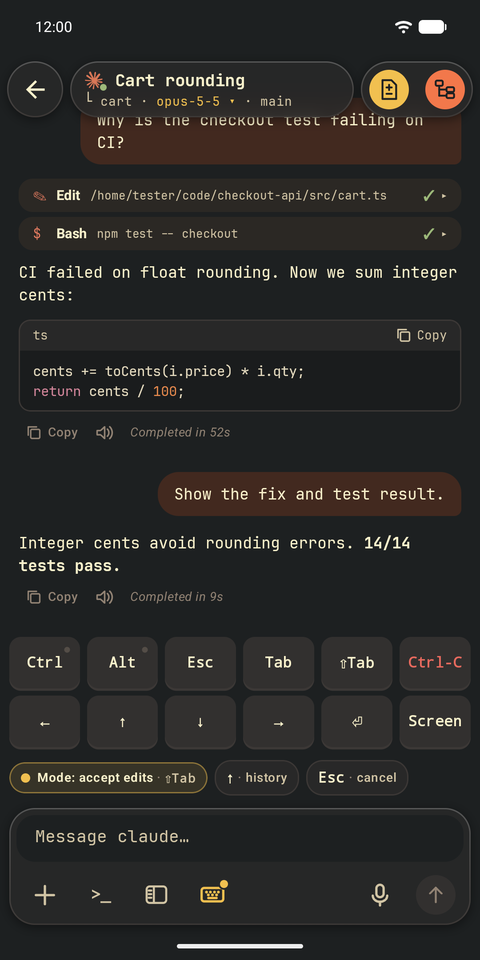
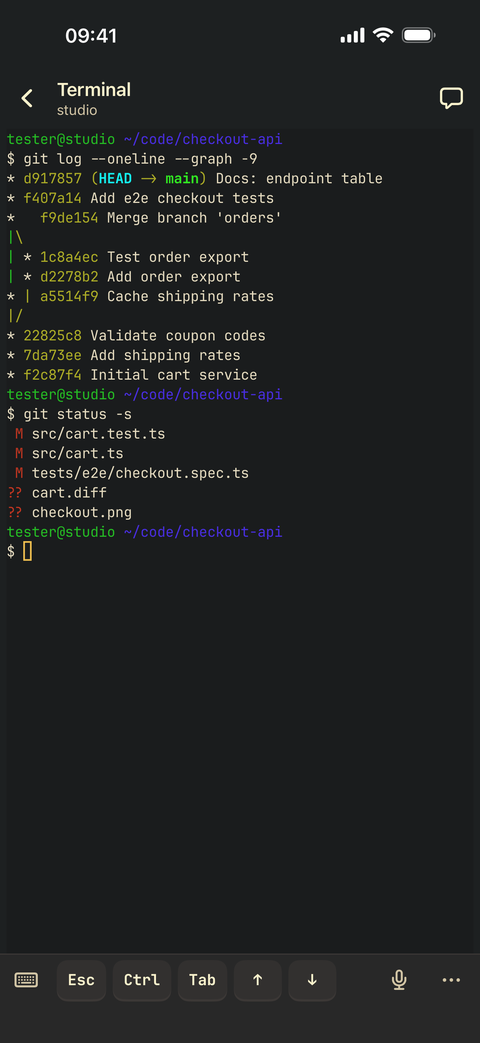
The SSH terminal also works without Herdr. Keep frequently used keys in its bar, or open the full key panel. Chat has its own controls for sending keys to the agent's live panel.
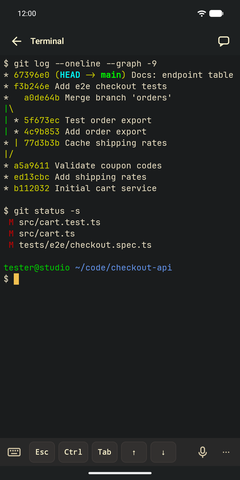
Open a shell on the connected computer. 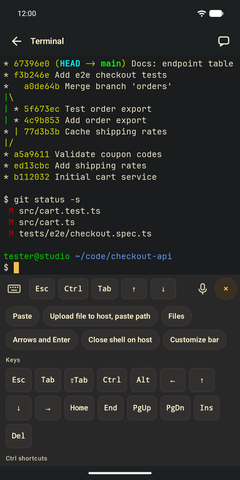
Expand the panel for navigation and shortcuts. 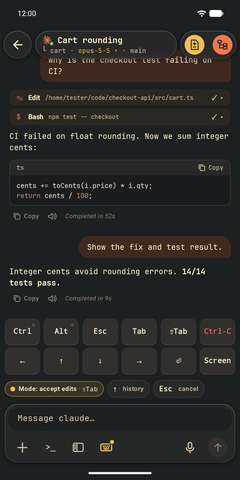
Show agent keys without leaving the conversation.
Queue a follow-up while the agent works
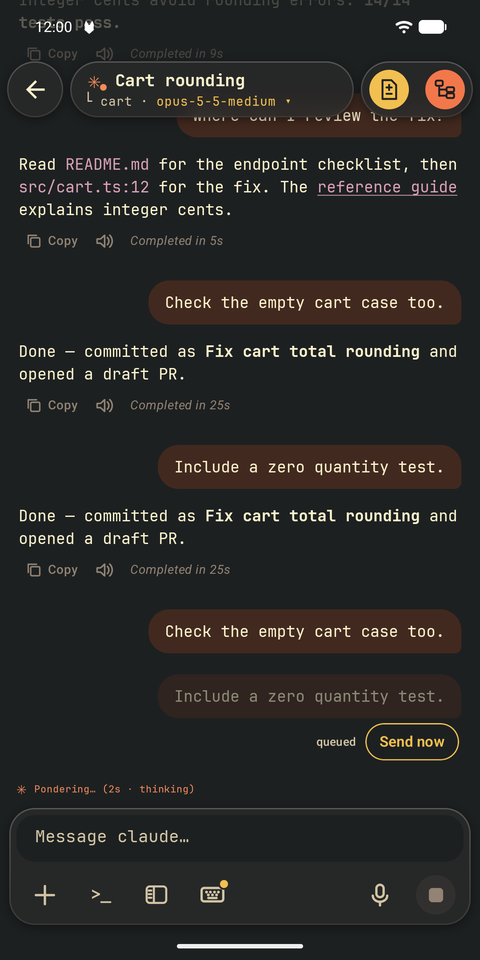
In a session that supports a queue, your next message waits for the current turn. The queued label tells you it has not been processed yet; Send now lets you interrupt rather than wait. This Android example uses a Claude Code demo session.
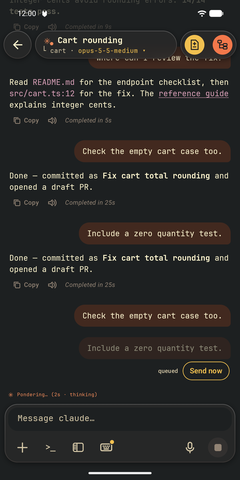
A queued follow-up stays visible in the conversation.
Attach an image before sending
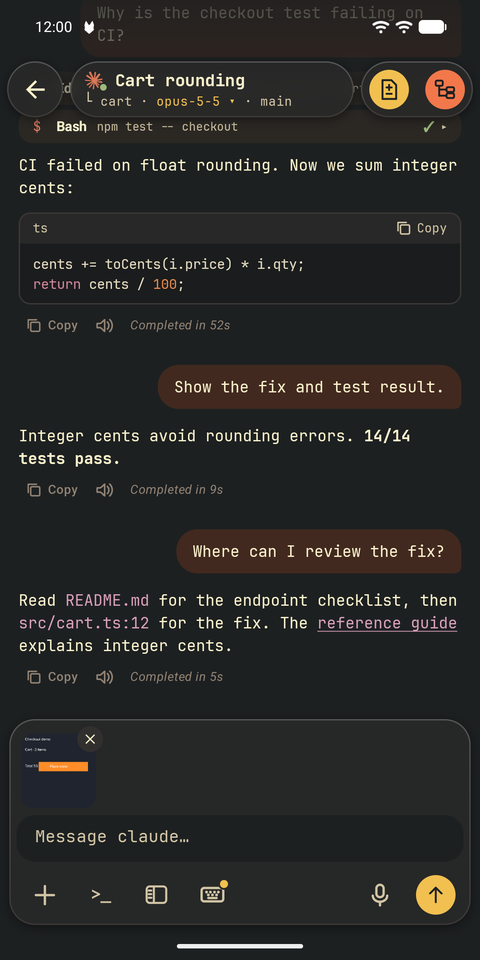
Open the plus button and choose a photo from the gallery. The thumbnail lets you check the attachment or remove it before sending your prompt. This example is a fictional checkout screen, uploaded to the isolated demo computer over SSH.
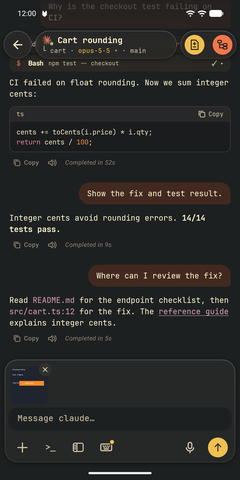
Inspect the attachment in the input bar.
Open the agent from its notification
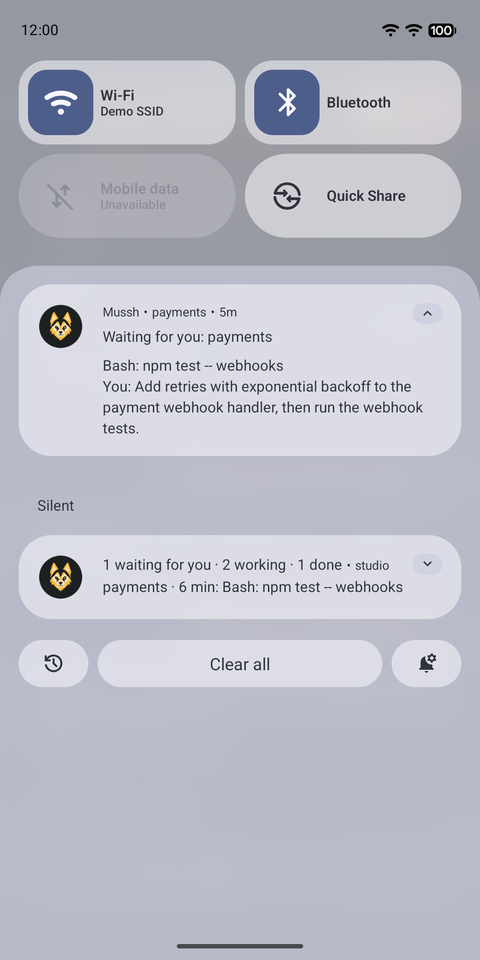
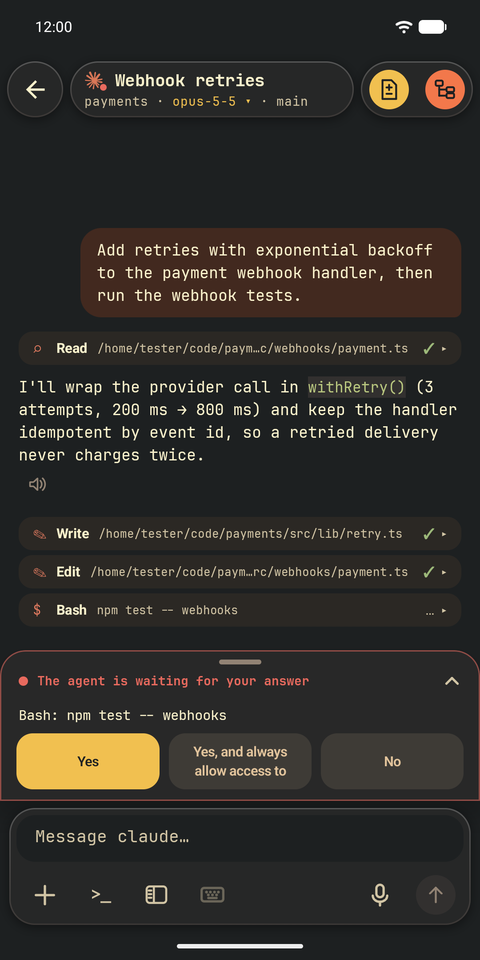
While the app is connected, an approval alert shows which project needs you. On Android, expand the notification to read the command and your prompt, then tap it to open that agent. Background limits differ on iPhone; check the notification limits.
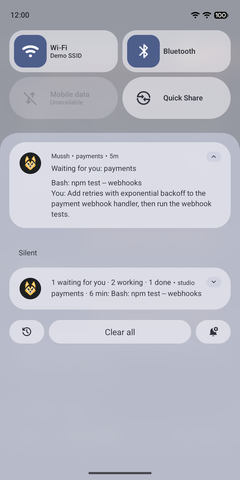
1. Read the approval notification. 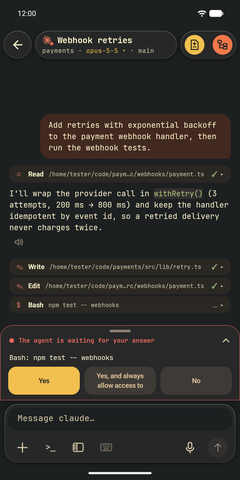
2. Continue in the matching conversation.
Preview a palette before you choose
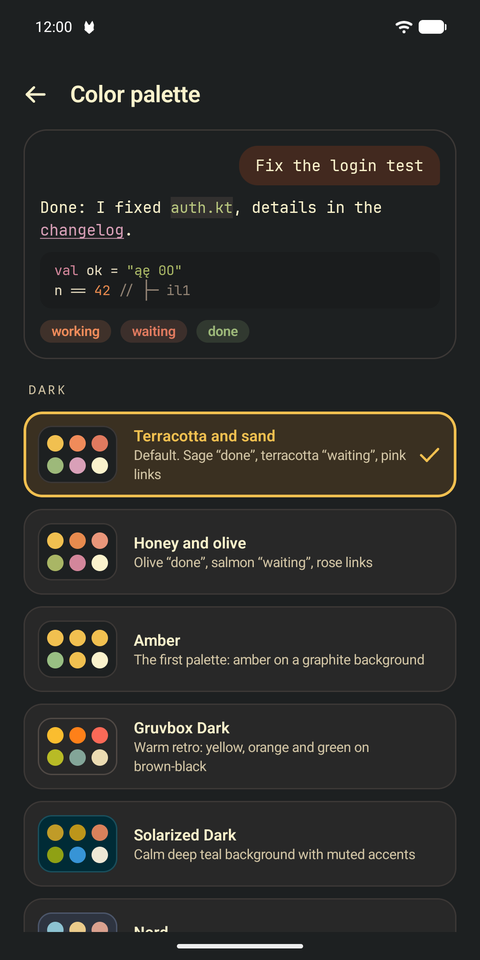
Open Settings, then Color palette. The app's built-in sample shows message text, code and agent states together. Chat, terminal and code fonts have separate settings and ship with the app.
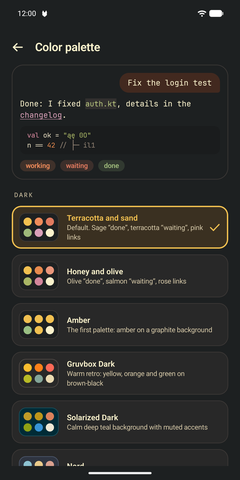
This sample is the app's own settings preview, captured without alteration.
The same workflow on iPhone
The controls follow the platform. These are actual iPhone simulator captures of the same demo host, not Android screens inside an iPhone frame.
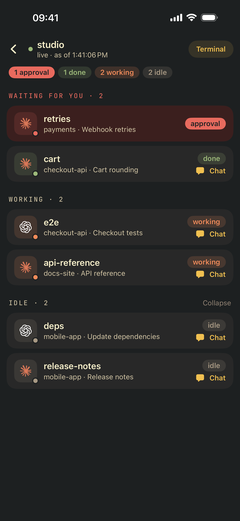
1. Choose a session from the fleet. 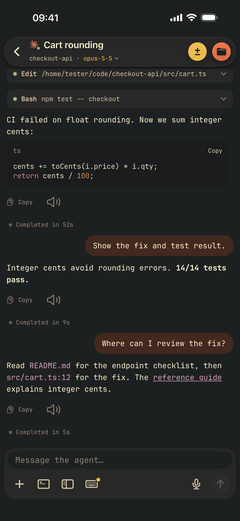
2. Read the answer and its code. 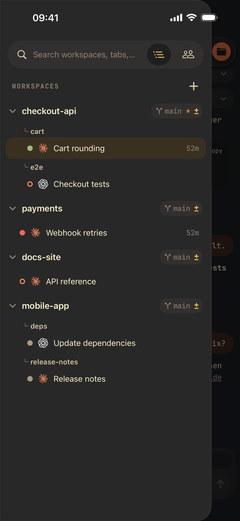
3. Open the workspace drawer. 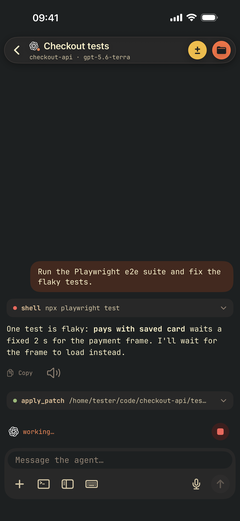
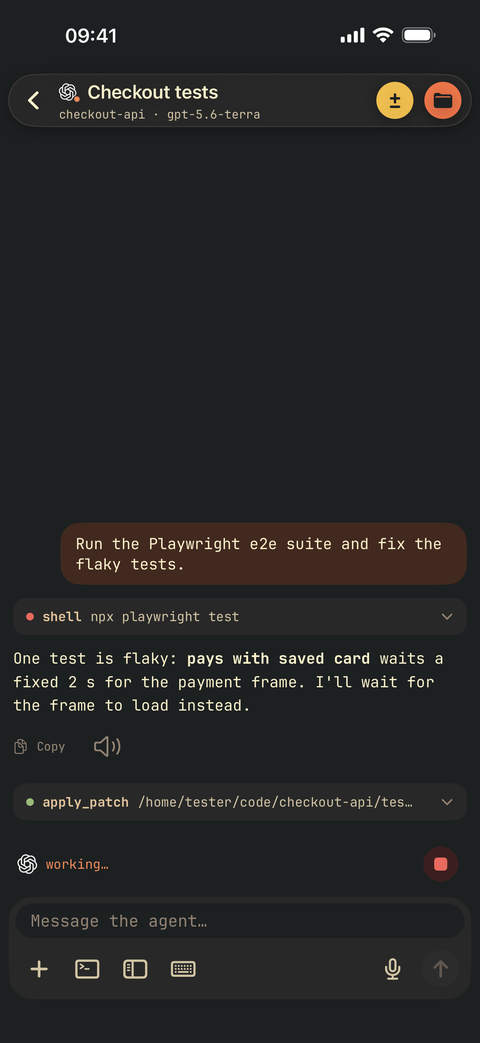
4. Continue in another agent's conversation.
Read an approval request before answering. 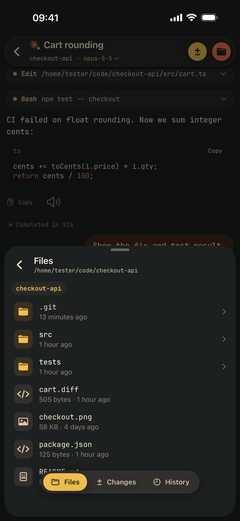
Browse the project in the Files sheet. 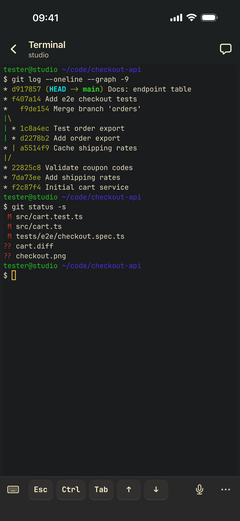
Use the shell when you need the terminal.
Start on the phone, pair with your computer
Add a computer and choose QR pairing. Copy the command shown in your app, run it on your computer, then scan its QR code. The command includes a checksum check. You review the connection before saving it.
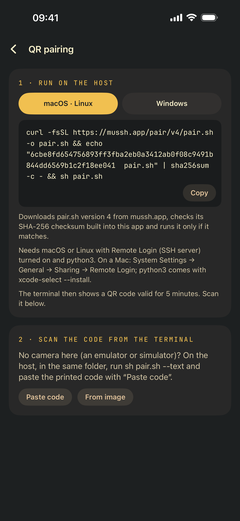
The first step on iPhone. Use your app's command, not text copied from this screenshot.
Listen to replies or dictate the next prompt
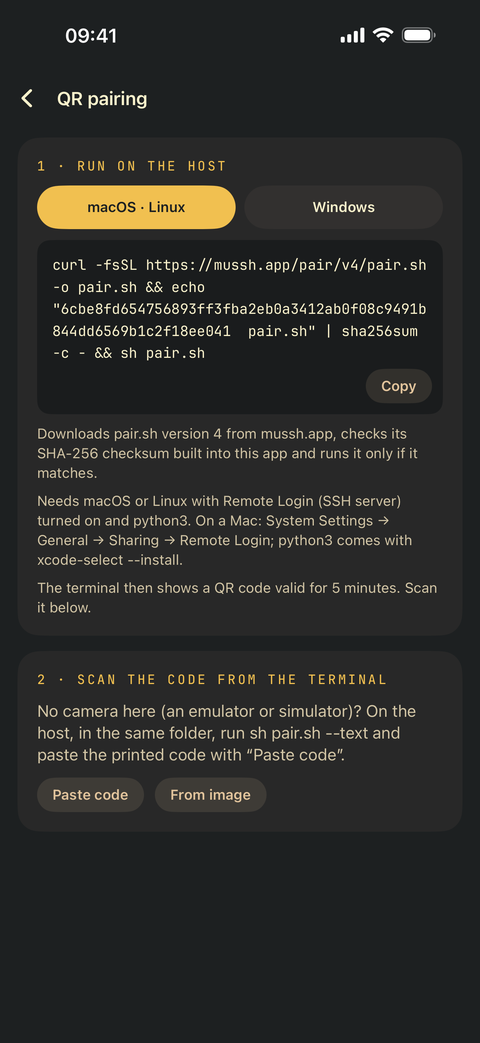
The speaker button below a completed answer starts the phone's system voice. The microphone in the input bar starts system dictation; review the text before sending. An image can show these controls, not the sound or speech recognition itself.
Both controls are visible in the chat screenshot above. Dictation depends on the speech recognition available on your phone.
Need connection instructions or details about notifications? Read the FAQ or open support.